
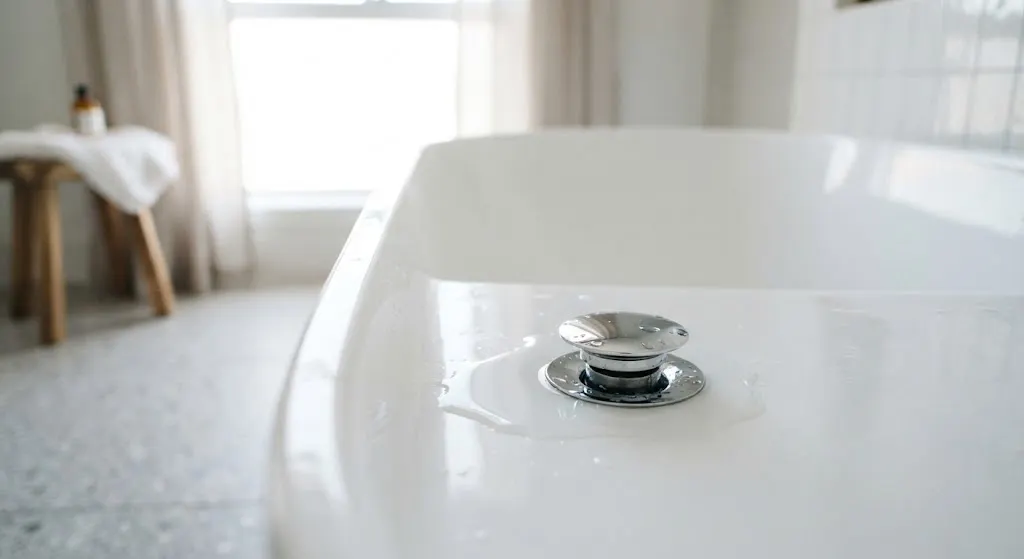
A tub that takes forever to drain isn’t just annoying — it’s usually a sign that something is blocking your pipes. The good news? Most slow tub drains are easy to fix yourself, without spending money on a plumber.
In this guide, you’ll learn what causes a slow-draining tub, how to spot the warning signs early, and which DIY methods actually work. We’ll also cover the tools you need and when it’s time to call in a professional.
Understanding Your Bathtub’s Drain System
Before you can fix a slow drain, it helps to know how the system works. Here are the main parts of your tub’s drainage setup:
- Drain stopper or cover — Sits at the bottom of the tub and controls water flow while keeping large debris out.
- Tub drain — The opening that connects your tub to the drainpipe below.
- Overflow tube — A safety feature that stops water from spilling over the edge of the tub if the water level rises too high.
- P-trap — A curved pipe that holds a small amount of water at all times. This water blocks sewer gases from creeping back into your bathroom.
- Drain line — The pipe that carries wastewater away from your tub and into your home’s main sewer line.
Knowing these parts makes it much easier to figure out where a clog is hiding — and how to reach it.
Warning Signs of a Slow-Draining Tub
Catching a slow drain early can save you from a bigger, messier problem down the road. Watch for these red flags:
- Water pooling around your feet while you shower
- The tub taking noticeably longer to empty
- Gurgling noises coming from the drain
- A musty or sour smell rising from the drain
- Visible grime, hair, or soap scum around the drain opening
If you notice one or more of these signs, it’s time to investigate — before a slow drain turns into a full clog.
What Causes a Tub to Drain Slowly?
Several things can slow down your tub’s drainage. Here are the most common culprits.
Hair and Soap Scum Buildup
This is, by far, the number one cause of slow tub drains. Hair, combined with soap residue, body oils, and shampoo, forms a sticky mass that clings to the inside of your pipes. Over time, this buildup narrows the drain opening or clogs the P-trap, slowing water flow to a crawl. Luckily, this type of clog is usually the easiest to fix at home.
Foreign Objects
Small items — toys, jewelry, bottle caps, even chunks of bar soap — can slip down the drain and get stuck. These objects often lodge in the P-trap or drain line, creating a physical blockage that water simply can’t push past.
Damaged or Poorly Sealed Drain Fittings
If the fittings that connect your drain to the plumbing aren’t sealed properly — or have worn out over time — water may not flow through as it should. This is harder to diagnose on your own, so it’s worth having a professional inspect the fittings if you suspect this is the issue.
Pipe Corrosion
In older homes, metal pipes can corrode from the inside out. Rust and mineral deposits build up along the pipe walls, shrinking the space water has to flow through. Corrosion is a more serious issue and typically requires a plumber’s help to resolve, especially if it’s affecting multiple drains in your home.
Tools You’ll Need to Unclog a Tub Drain
Before you dive into a DIY fix, gather a few basic tools. Having the right equipment on hand makes the job faster and less frustrating.
- Plumber’s snake (drain auger): A long, flexible cable with a coiled or hooked end. You feed it into the drain and turn the handle to break up or hook onto the clog, then pull it out.
- Flat-bottomed plunger: Unlike the flanged plungers made for toilets, a flat-bottomed plunger creates a proper seal against a flat tub surface.
- Drain snake (smaller, flexible wire): Great for shallow clogs close to the drain opening. In a pinch, a straightened wire coat hanger with a small hook bent into the end works too.
- Bucket: Keep one nearby to catch water, hair, and debris as you work.
- Rubber gloves: You’ll want these for manual hair removal — trust us.
Pro Tip: Richard Trethewey, plumbing and heating consultant for This Old House, recommends starting gentle and escalating only if needed. Older plumbing systems can be delicate, so avoid blasting water or forcing tools through the pipe too aggressively — you could cause more damage than you fix.
A Word on Chemical Drain Cleaners
Chemical drain cleaners should be your last resort, not your first move. These products are harsh — they can corrode older pipes, irritate your skin and lungs, and harm the environment when they wash into the water supply. If you do decide to use one, choose a product formulated specifically for tub and shower drains, follow the instructions exactly, and make sure your bathroom is well ventilated.
6 DIY Methods to Fix a Slow-Draining Tub
Try these methods in order, starting with the gentlest option. Most minor clogs will clear up with the first two or three methods.
1. The Plunger Method
Best for clogs sitting close to the drain opening.
- Remove the drain cover or stopper.
- Add a few inches of water to the tub so it covers the drain.
- Position the plunger over the drain and press down to form a tight seal.
- Plunge firmly for 20–30 seconds.
- Lift the plunger and check whether the water drains faster.
- Repeat as needed.
2. The Boiling Water Method
Hot water helps melt away grease and soften soap scum.
- Boil a full kettle of water.
- Pour it down the drain slowly, in stages.
- Let it sit for about a minute between pours so it has time to loosen debris.
- Repeat two or three times if the clog doesn’t clear right away.
Tip: Avoid this method on PVC pipes if the water is at a rolling boil — very hot water can occasionally warp older plastic piping. Let it cool slightly first if you’re unsure what your pipes are made of.
3. Baking Soda and Vinegar Solution
A natural, chemical-free option that works well on soap scum and light hair clogs.
- Remove any standing water from the tub.
- Pour ½ cup of baking soda down the drain.
- Follow with ½ cup of white vinegar.
- Cover the drain with a wet cloth to trap the fizzing reaction inside the pipe.
- Wait 5–10 minutes.
- Flush with hot water.
4. Manual Hair Removal
Ideal for visible, recent hair buildup right at the drain opening.
- Remove the drain cover or stopper.
- Shine a flashlight into the drain to see what you’re dealing with.
- Put on rubber gloves and pull out any visible hair or debris by hand.
- If the clog is deeper, use a bent wire hanger or small drain snake to reach further in.
- Flush the drain with hot water once it’s clear.
5. The Drain Auger Technique
Use this when you suspect the clog is sitting deeper, in the P-trap or drain line.
- Remove the drain cover or stopper.
- Feed the auger cable into the drain opening.
- Turn the handle clockwise while gently pushing forward.
- When you feel resistance, keep turning slowly — this breaks up or hooks the clog.
- Slowly pull the auger back out, removing debris as you go.
- Flush with hot water to clear any remaining residue.
6. Wet/Dry Vacuum Method
A surprisingly effective, low-mess alternative to plunging.
- Set your wet/dry vacuum to the “liquid” or “water” setting.
- Create as tight a seal as possible between the vacuum hose and the drain opening.
- Turn the vacuum on and let it suction the clog out.
- Repeat if the first attempt doesn’t fully clear the blockage.
Real Story: Laura Mozier of Fairfield, Connecticut, once faced a stubborn upstairs tub clog that her plumber said would require tearing into the ceiling below. Instead, a contractor she knew wrapped the wet/dry vac’s nozzle with electrical tape to create a tighter seal against the drain, covered the overflow hole with a flexible rubber pad, and switched on the vacuum. The clog came right out — no ceiling repair, no extra expense.
When to Call a Professional Plumber
DIY methods solve most slow-drain problems, but some situations call for expert help. Reach out to a licensed plumber if you notice any of the following:
- None of the DIY methods improve drainage
- You suspect pipe corrosion or physical damage
- Multiple drains throughout your home are running slow
- You smell sewage odors or notice backups
- Your home has old, deteriorating plumbing
Before hiring anyone, get quotes from at least three plumbing companies so you can compare pricing and find a fair deal. If you have a home warranty, check whether plumbing repairs are covered — it could save you a significant amount of money and hassle.
How to Prevent Future Slow Drains
Once your tub is draining freely again, a little regular maintenance goes a long way toward keeping it that way.
Stick to a Maintenance Routine
- Flush your drain with hot water weekly to prevent buildup before it starts.
- Run a baking soda and vinegar treatment once a month for a natural deep clean.
- Never pour grease, oil, or cooking fat down any drain — it hardens and traps other debris.
- Clean your drain stopper or cover regularly to remove trapped hair and soap residue.
Install a Drain Cover or Hair Catcher
A simple mesh drain cover or hair catcher can make a huge difference. These inexpensive tools trap hair and debris before it ever enters your pipes, and they’re easy to rinse out after every shower.
Schedule Periodic Plumbing Inspections
If your home has older pipes, a yearly plumbing inspection can catch small issues — like early corrosion or loose fittings — before they turn into expensive repairs. It’s a small investment that can extend the life of your entire plumbing system.
Final Thoughts
A slow-draining tub is frustrating, but it’s rarely a mystery once you understand what’s causing it. In most cases, a plunger, some hot water, or a simple baking soda and vinegar treatment is all it takes to get your drain flowing freely again.
If you’ve tried the DIY methods above and your tub is still draining slowly — or you’re dealing with signs of corrosion, sewage smells, or multiple slow drains — it’s time to call a licensed plumber. Otherwise, a little regular maintenance, like flushing your drain weekly and using a hair catcher, will help you avoid this headache altogether.
Take care of your tub drain now, and you’ll save yourself the time, money, and mess of a bigger plumbing problem later.


Comments are closed.