
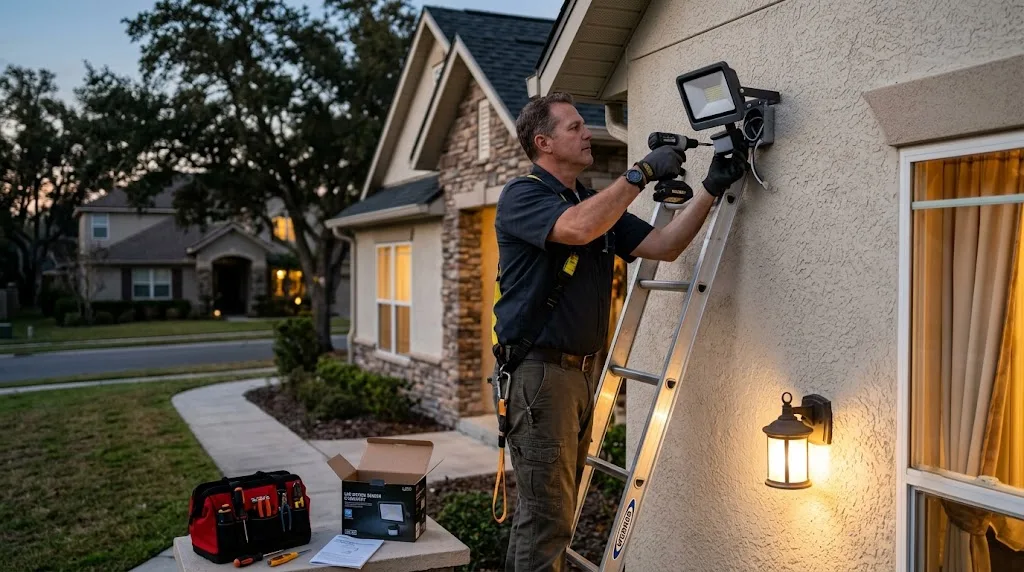
To install a floodlight, turn off the power at the breaker, remove the old fixture, connect the black wire to black, white to white, and ground to ground, then mount the new fixture, seal it with silicone, and test it. The whole job usually takes one to two hours.
Adding a floodlight to your home is one of the easiest ways to boost security and light up dark corners of your yard. You don’t need to be an electrician to get it done. With the right tools, a little patience, and this guide, you can have your new floodlight up and shining in an afternoon.
This walkthrough covers everything from picking a location to wiring the fixture safely. We’ll also cover when it makes more sense to call in a pro. Let’s get started.
Why Install a Floodlight

A floodlight does more than just light up your driveway. It makes your home safer by removing the dark spots where someone could hide. It also makes it easier to see when you’re walking to your car at night or looking for your keys at the front door.
Floodlights add value to your home too. Buyers notice small upgrades like better outdoor lighting, and it gives your house a more finished look after dark. Many models now come with motion sensors, so the light only turns on when it detects movement. That saves energy and adds an extra layer of security.
Tools and Materials You Need
Before you start, gather everything so you’re not running back and forth to the hardware store. You’ll need a screwdriver set with both flathead and Phillips heads, a voltage tester, wire strippers, and wire nuts or connectors rated for outdoor use. A ladder will help you reach the mounting spot safely.
You’ll also need your new floodlight fixture, silicone caulk for weatherproofing, and electrical tape. If you’re running new wire instead of replacing an old fixture, pick up fish tape and a new outdoor-rated junction box as well. Having everything ready before you climb the ladder saves time and keeps the job moving smoothly.
Step 1: Turn Off the Power
Safety comes first, every time. Head to your breaker box and switch off the circuit that powers the area you’re working on. If you’re not sure which breaker controls that spot, flip them off one at a time and check.
Once the power is off, use a voltage tester on the wires before you touch anything. Even if the switch is off, a wire can still carry a charge, so never skip this step. It only takes a few seconds and it could save your life.
Step 2: Choose the Right Location
Think about where light is needed most. Common spots include above the garage door, near the front entry, or along the back of the house facing the yard. Look for dark corners where extra light would improve both visibility and security.
Check that the spot you pick is close to existing wiring or a power source, since this keeps the job simpler. Also make sure the surface is solid enough to hold the weight of the fixture. Wood siding, brick, and stucco all work fine as long as you use the right mounting hardware.
Step 3: Remove the Old Fixture or Prepare the Wiring
If you’re replacing an existing floodlight, unscrew the old fixture from the wall and gently pull it away from the junction box. Take a photo of how the wires are connected before you disconnect anything. This makes reconnecting the new fixture much easier later.
Inspect the wires for any fraying, cracks, or corrosion. If you spot damage, trim back the wire ends about half an inch so you’re working with clean, solid copper. If you’re installing a floodlight where none existed before, this is the point where you’d run new wiring to a junction box. That kind of work should be handled by a licensed electrician, since it involves opening up walls and tying into your home’s electrical panel.
Step 4: Connect the Wires
Now it’s time to wire in your new floodlight. Match the wires by color: connect the black wire from the fixture to the black wire from the house, connect white to white, and connect the green or bare copper ground wire to the ground wire in the box.
Twist each pair together clockwise and cap them with a wire nut rated for outdoor use. Give each connection a gentle tug to make sure it’s tight and won’t come loose. Wrap a bit of electrical tape around each wire nut for extra protection against moisture. Loose or exposed wires are one of the biggest causes of outdoor lighting problems, so take your time here.
Step 5: Mount the Bracket and Attach the Fixture
Once the wiring is connected, tuck the wires neatly back into the junction box. Attach the mounting bracket that came with your floodlight, using the screws provided. Make sure it sits flush against the wall and feels sturdy when you give it a light shake.
Line up your fixture with the bracket and secure it with the screws or bolts included in the kit. Most floodlights let you adjust the angle of the light heads, so point them toward the area you want illuminated. You can always fine-tune this later once the power is back on.
Step 6: Seal the Connections
Outdoor fixtures deal with rain, humidity, and temperature swings all year long, so sealing matters. Apply a bead of silicone caulk around the base of the fixture where it meets the wall. This keeps water from seeping into the junction box and causing corrosion or a tripped breaker down the road.
Check that any rubber gaskets that came with the fixture are seated properly too. A few extra minutes spent sealing things up now can prevent a callback repair next winter.
Step 7: Test the Floodlight
With everything mounted and sealed, head back to the breaker box and flip the power on. Turn on the switch and check that your floodlight comes on the way it should. If it has a motion sensor, walk through its detection zone to confirm it’s working and adjust the sensitivity if needed.
Take a look at where the light is landing. If it’s not covering the area you wanted, loosen the adjustment knob on the fixture and reposition the light heads. Tighten everything back up once you’re happy with the coverage.
Common Floodlight Problems and Fixes
If your new floodlight doesn’t turn on, start by checking the breaker to make sure it hasn’t tripped. A simple voltage tester can confirm whether power is actually reaching the fixture. If the light flickers, the most likely cause is a loose wire connection inside the junction box, so it’s worth opening it back up and checking each connector.
Motion sensor issues are usually a quick fix too. Most problems come down to the sensitivity or range settings being off, or something blocking the sensor’s view, like a tree branch or a spider web. Adjusting the settings or clearing the area in front of the sensor usually solves it. If none of these fixes work, it’s time to call a licensed electrician rather than keep guessing.
When to Call a Professional
Plenty of homeowners can handle floodlight installation on their own, especially when replacing an existing fixture. But some situations call for extra help. If you need to run brand new wiring through your walls, add a new circuit, or install a junction box where none exists, bring in a licensed electrician.
The same goes if your local building codes require a permit or a licensed professional for this type of work. Rules vary by city and state, so it’s worth a quick call to your local building department before you start. When in doubt, hiring a pro costs less than fixing a mistake later.
Final Thoughts
Installing a floodlight is a project most homeowners can tackle in an afternoon, as long as safety stays the top priority. Turn off the power, work carefully with the wiring, seal everything against the weather, and test your work before calling it done. Your home will be safer, brighter, and more welcoming the moment you flip that switch.
If your project involves new wiring or you’re not fully comfortable working with electricity, don’t hesitate to call a licensed electrician. A properly installed floodlight should give you years of reliable service, so it’s worth doing the job right the first time.


Comments are closed.